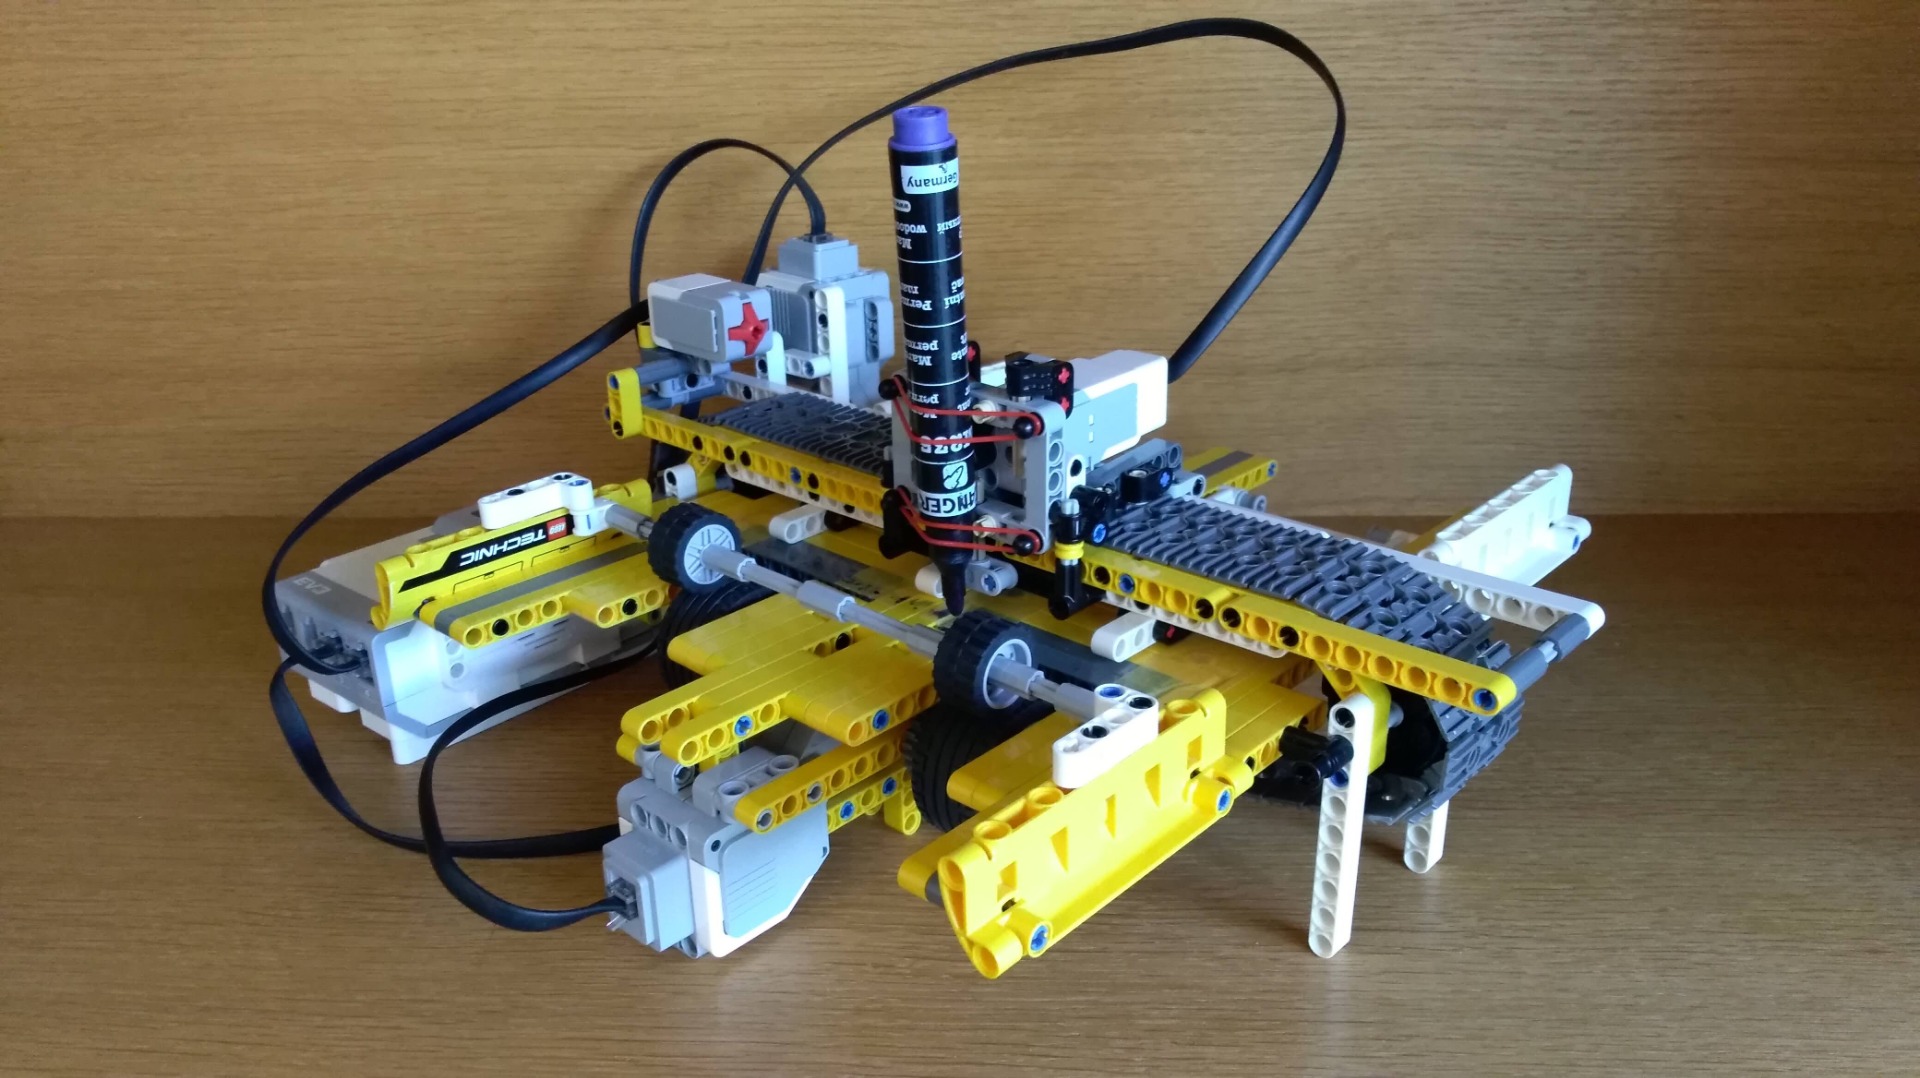
PRINTER

June 20, 2020
This time I made a printer. Before that I needed a tool to convert your image to coordinates. I made that tool myself in the program "processing". First you choose the image you want to print. Then place this in the data folder of your processing file. When you start the program, you draw points that will be connected to form your drawing. If you want to lift the pen to start a new line, right click. Finally, click on the "exit" button. The coordinates are saved as an rtf file.
Then you go to your ev3 program and add the rtf file to the data folder. Click on start and your drawing will be printed.
The printer uses the color sensor to detect the sheet of paper. Then the x-axis movement is reset. This movement is driven by a large motor just like the y-axis movement. To move the pen up and down I used a medium motor. The printer now goes through a number of point-to-point calculations, each with a different speed to get a straight line. Depending on your drawing, it will be ready in about a minute.
